
Last updated November 22, 2026
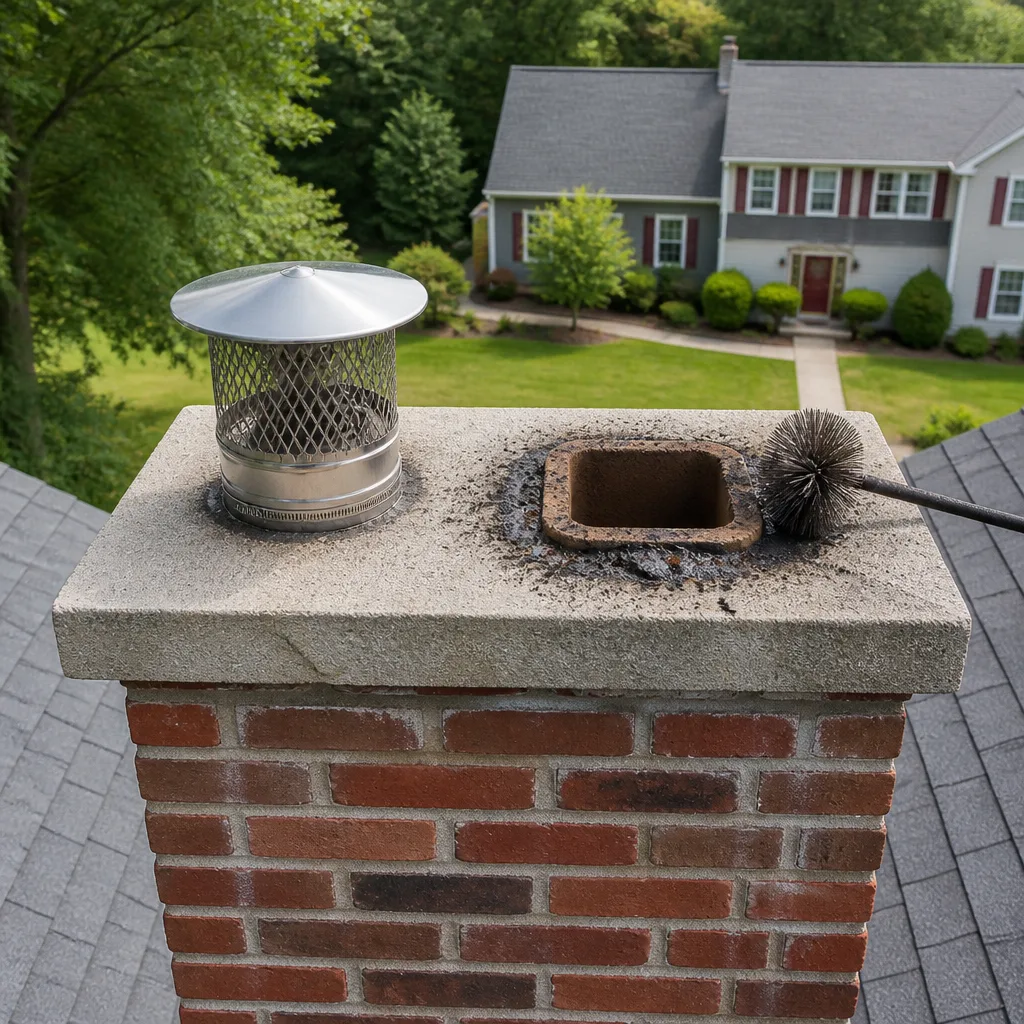 Sweep & inspection
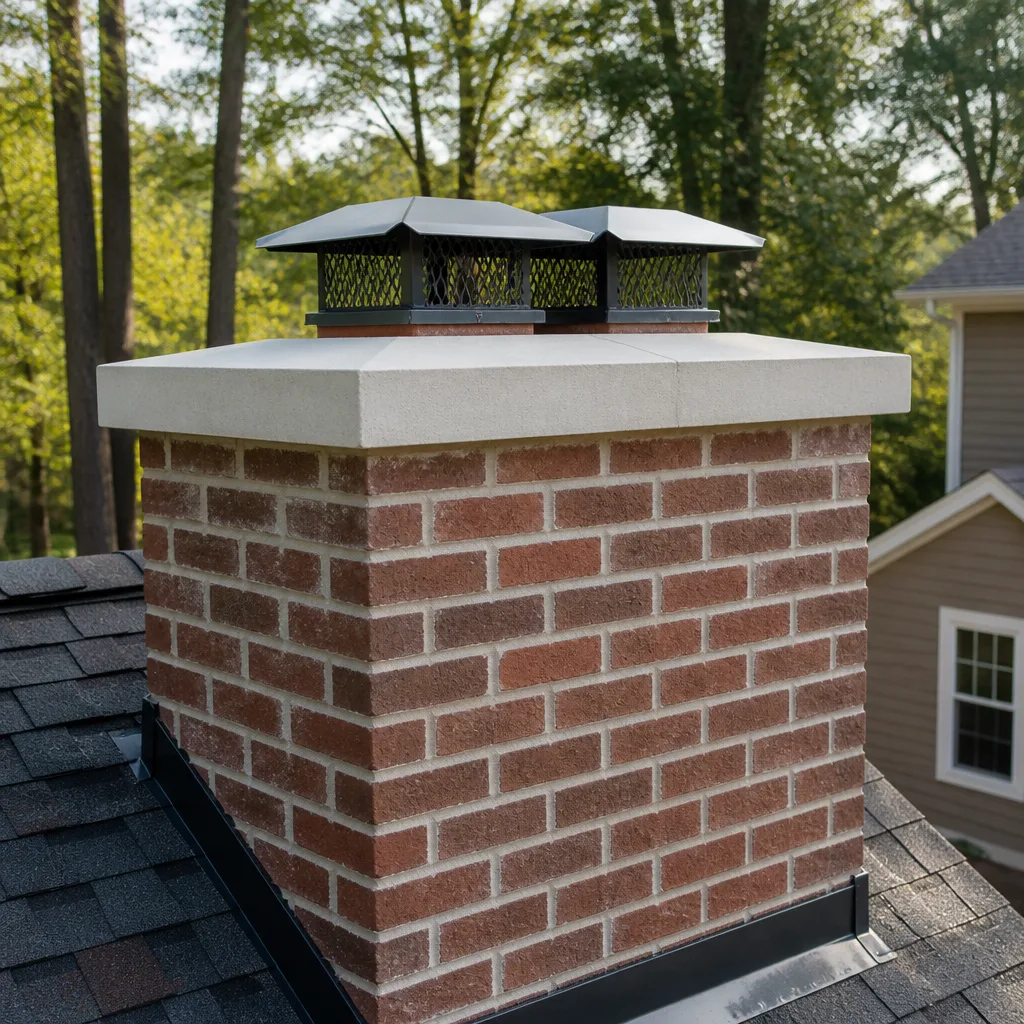 Caps & crowns
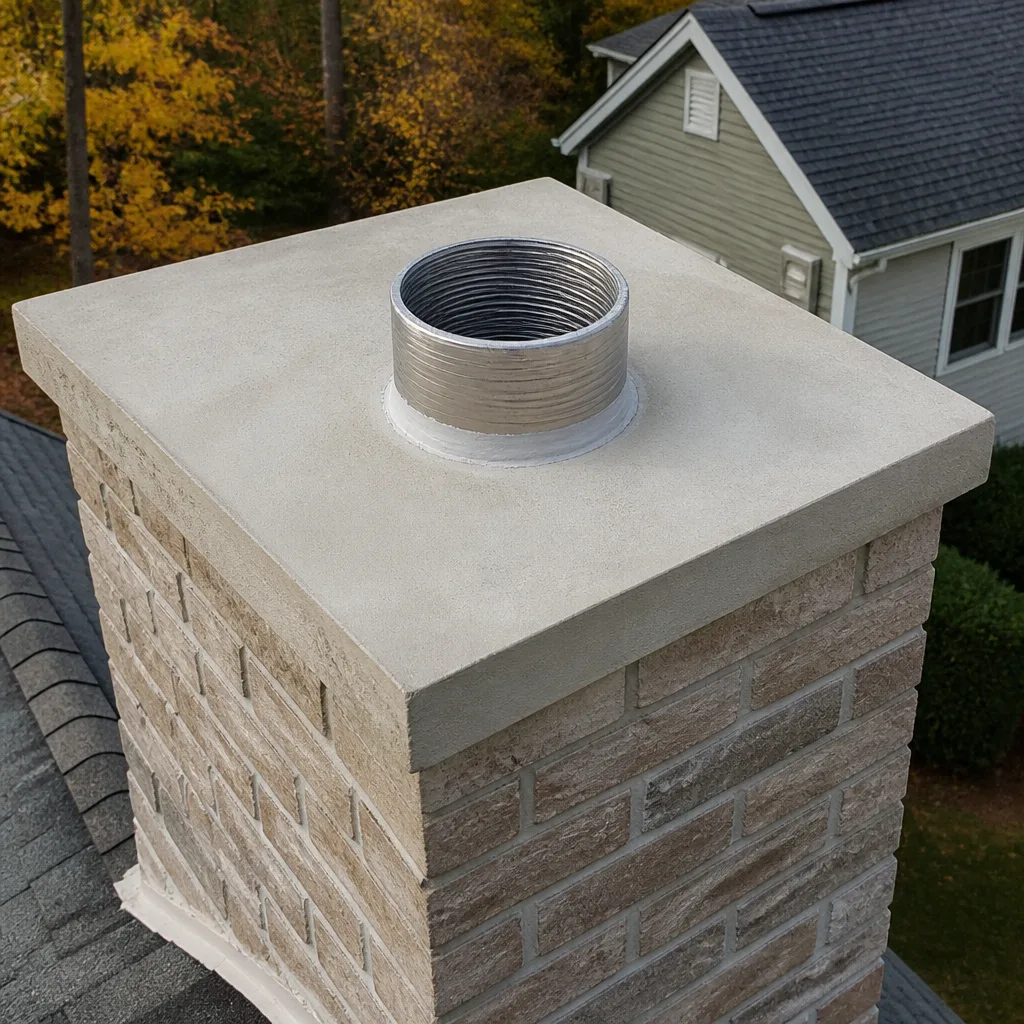 Flue relining
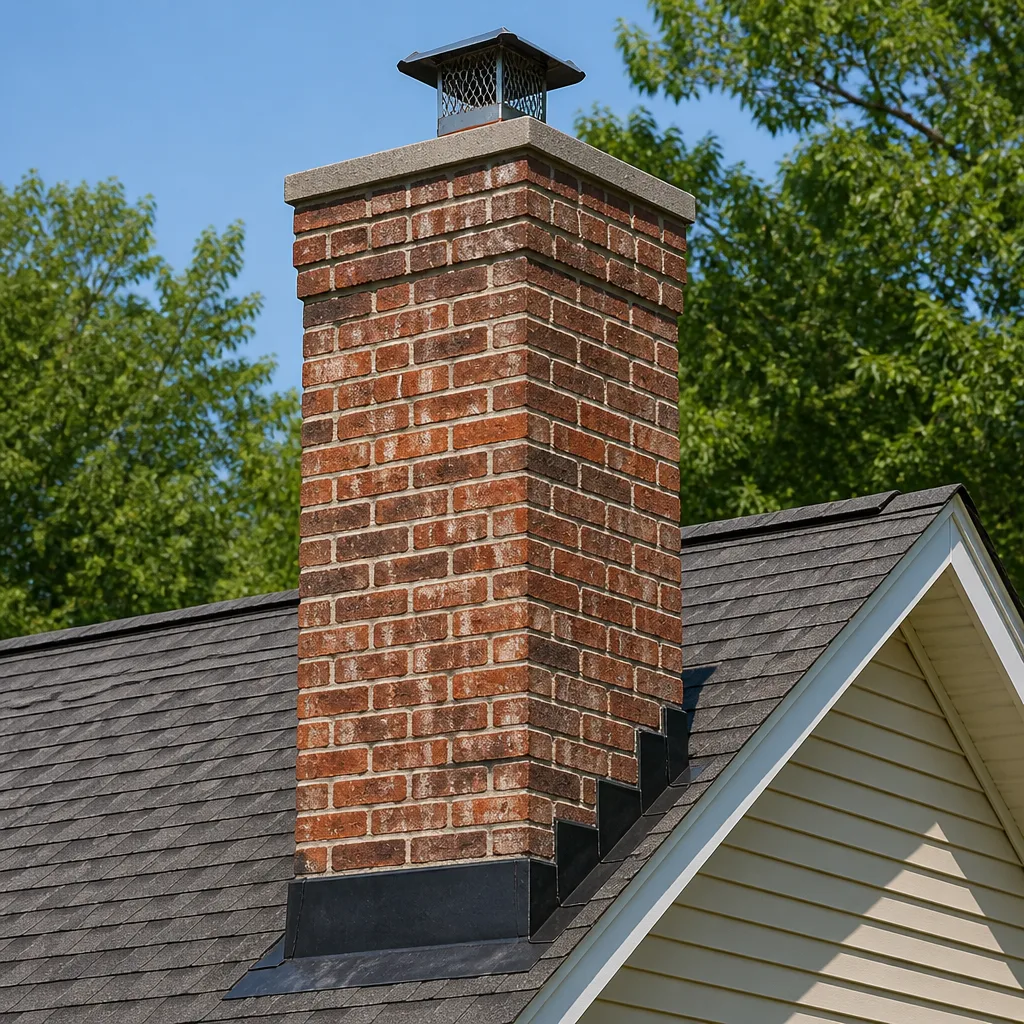 Masonry repair
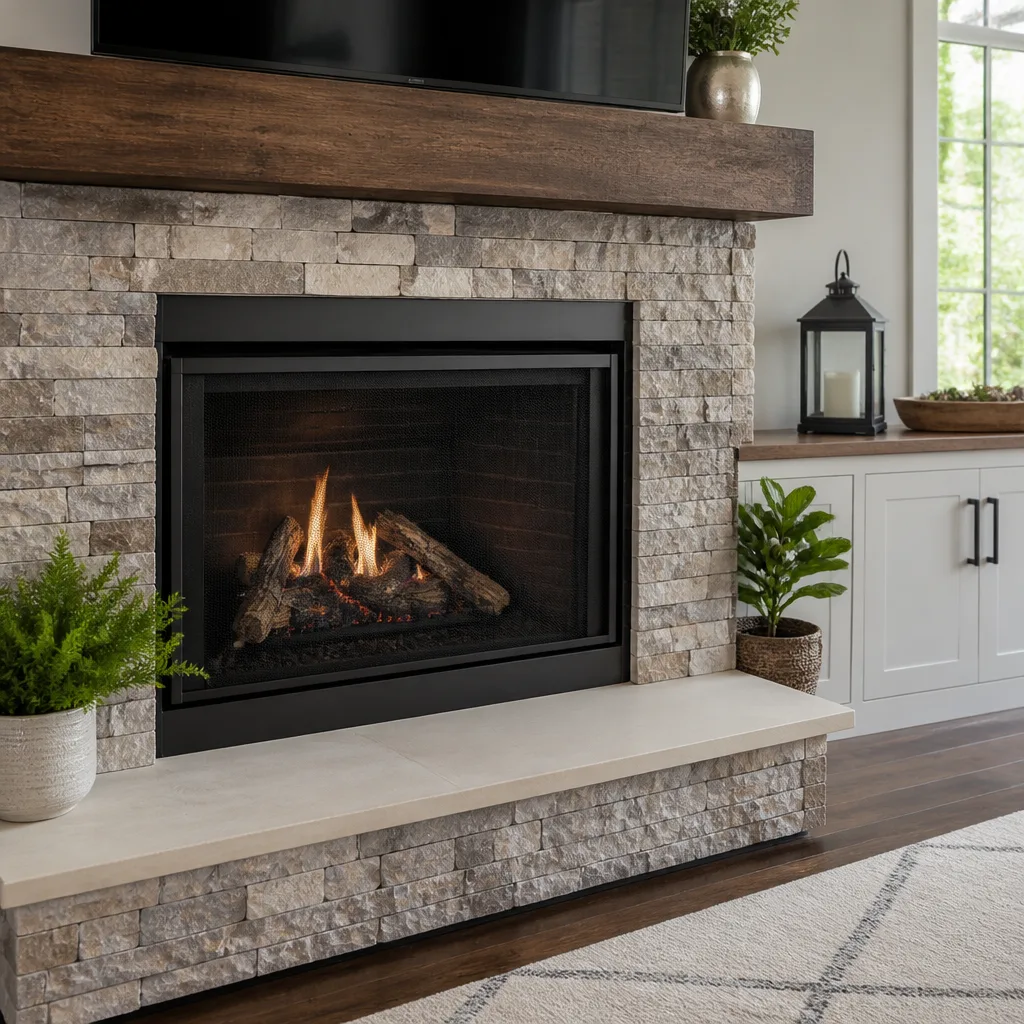 Gas fireplace service
Level 1 sweep and inspection to the NFPA 211 annual standard - flue, crown, cap, and flashing checked and photographed
Chimney sweep logs do not sweep chimneys. They loosen some creosote - which then falls where a brush and vacuum still have to collect it.
Chimney Sweep Maintenance Checklist for West Hills Homeowners
The chimney you used five times last winter and ignored all spring has been quietly collecting debris, moisture, and critter activity since March. Most homeowners think a chimney only needs attention when a fire is burning, but the months between fire seasons are when the real damage sets in. In West Hills, where mild winters let debris and moisture work slowly and without drama, the failures that matter are the ones you can’t hear or smell. This checklist is built around what actually degrades between fire seasons here, not generic annual advice. You’ll learn what to check in September, January, and April, what you can safely assess from the ground, and what needs a professional with a camera.
Quick Answer
A chimney maintenance checklist for West Hills homeowners should follow three checkpoints: a pre-season inspection in September or October before the first fire, a mid-season creosote check in January based on how often you burn, and post-season tasks in March or April covering cap integrity, wildlife nesting, and moisture at the crown. Ground-level checks catch a few things, but flue obstructions, damper operation, and firebox cracks need a professional with camera equipment. Documenting condition year over year is what turns a checklist into a maintenance system.
Styles & brands we work with
- Sweep & inspection
- Caps & crowns
- Flue relining
- Masonry repair
- Gas fireplace service
Table of Contents
- Why a Chimney Checklist Beats an Annual Reminder
- Pre-Season Checklist: September and October
- Mid-Season Check: January and the Creosote Threshold
- Post-Season Tasks: March and April
- What You Can Safely Check From the Ground
- What Requires a Professional and a Camera
- Documenting Condition Year Over Year
- Common Mistakes to Avoid
- When to Call a Professional
- Frequently Asked Questions
- The Bottom Line
Why a Chimney Checklist Beats an Annual Reminder
An annual sweep reminder treats every chimney the same. A checklist treats yours as a system with specific failure points that compound quietly between uses. That difference matters in West Hills, where the burn season is long and mild and the off-season is dry. Debris that falls into a flue in April sits there until October. A hairline crack in the firebox widens a little each time heat and cool air cycle through it. A cap that loosened in a spring wind event lets moisture into the crown for months before anyone notices.
None of these announce themselves. A chimney doesn’t rattle or leak or send a warning. By the time a homeowner calls because smoke is backing up or a fire won’t draw, a small issue has usually become a structural one. The purpose of a checklist is to catch each of these at the stage where a cleaning, a cap replacement, or a sealer fixes it, instead of the stage where you’re looking at a full reline.
Here’s what a working checklist does differently from a reminder on your calendar:
- It assigns tasks to the season when they’re actually relevant, not all to one visit.
- It separates what a homeowner can observe from what needs equipment and training.
- It records conditions so the next inspection starts with history, not a blank page.
- It ties each observation to the repair that addresses it before it spreads.
The rest of this guide walks through each checkpoint in order. If you want a single trusted specialist to handle the whole cycle, from annual sweep to full liner restoration, Chimney Sweep West Hills covers inspection, cleaning, cap and crown work, liner repair, and structural fireplace repair under one company.
Pre-Season Checklist: September and October
The pre-season check happens before your first fire of the year, ideally in September or October. The goal is to confirm the chimney is clear, sealed, and structurally sound before you introduce heat and smoke. In West Hills, the dry summer means the off-season has done most of its work by September, so this is the right moment to clear what accumulated and catch what changed.
Work through these steps in order:
- Look up the flue from the firebox with a flashlight. You’re checking for light at the top and for any visible obstruction. A clear path should show daylight or a uniform dark opening. Leaves, twigs, or a bird’s nest blocking the view is a stop signal.
- Operate the damper fully open and closed. It should move through its range and seat flat when closed. A damper that sticks, hangs, or won’t close completely needs attention before you burn.
- Inspect the firebox for cracks. Look at the brick and mortar joints, the back wall, and the floor. Fine surface crazing is common. A crack you can catch a fingernail in is not, and it needs a professional look.
- Check the smoke chamber and the area above the damper for heavy soot buildup or a shelf of creosote. This is where airflow problems start.
- From the ground, scan the cap and crown. Confirm the cap is attached and not rusted through, and the crown has no visible gaps at its edge.
- Look for moisture staining on the chimney exterior or the ceiling near the flue. Any dark streaking or discoloration points to water getting in.
The single most important pre-season item is flue obstruction. A blocked flue sends carbon monoxide into the room instead of up and out. If you find an obstruction, don’t light a fire and don’t try to clear it yourself. Call for a professional inspection. A routine chimney sweep before the season clears soot and creosote and gives you a clean baseline for the year.
Mid-Season Check: January and the Creosote Threshold
The mid-season check happens in January, once you have a few months of burning behind you. This is when creosote accumulation becomes the question. Creosote is the residue left by wood smoke, and it builds up faster than most homeowners expect. The threshold for a mid-season sweep depends on how often you burn, not on a fixed calendar date.
Use your burn frequency to judge whether a mid-season sweep is worth booking:
- Occasional use, a fire a few times a month: creosote buildup is typically light. A visual check of the firebox and a look up the flue is usually enough to carry you to the post-season sweep.
- Regular use, several fires a week: buildup is meaningful by January. A mid-season sweep is often warranted, especially if you burn green or unseasoned wood.
- Heavy use, a fire most nights: this is where a mid-season sweep stops being optional. Soot and creosote accumulate in layers, and a heavy layer of the wrong kind can ignite.
At the same time, check the glass on a wood stove or the firebox opening on an open fireplace for heavy black deposits. That material is what’s going up the flue. If the firebox is coated after a couple months, the flue is too.
Creosote matters because the flammable forms of it can catch fire inside the flue, and a chimney fire can damage the liner and the structure around it. The right answer isn’t fear, it’s timing. A mid-season sweep at the point where buildup starts, rather than at the point where it’s thick, keeps the chimney safe to use through the rest of the winter. If you’re not sure where you land, a quick inspection settles it.
Post-Season Tasks: March and April
The post-season check happens in March or April, after your last fire and before the off-season sets in. This is the most overlooked checkpoint, and in West Hills it’s also the most valuable. The dry, windy months between seasons are when a small opening at the cap or crown lets moisture and debris into a chimney you won’t think about again until fall.
Work through these tasks once the fire is out for the year:
- Check cap integrity after the wind season. A cap that shifted, cracked, or rusted through lets water and animals in. Confirm it’s seated, attached, and intact. If it’s compromised, this is the time to replace it. A well-fitted chimney cap & crown installed at the end of the season protects the flue through the months you’re not using it.
- Inspect the crown for cracks and gaps at the edge. The crown is the concrete surface at the top of the chimney that sheds water away from the flue. A crack in it channels moisture straight into the masonry all summer.
- Look for wildlife nesting activity. Birds, squirrels, and other animals treat an open or damaged flue as shelter. A nest built in spring becomes an obstruction you’ll discover in fall, sometimes with smoke backing into the house.
- Check for moisture intrusion signs at the crown and the exterior. Dark stains, efflorescence (a white powdery residue), or spalling brick all point to water getting into the masonry. Address it before the next wet season.
- Close the damper and confirm it’s sealed. An open damper over the summer lets hot air, humidity, and debris into the firebox and the flue.
- Photograph everything. Cap, crown, exterior, firebox. This becomes your record for next year.
If any of these turns up a problem, this is the season to fix it. Repairs done in spring have months to settle before the chimney is used again. That’s why the post-season check, not the pre-season one, is where the maintenance system really earns its place.
What You Can Safely Check From the Ground
You don’t need a ladder to do most of the valuable observation in this checklist. A surprising amount can be assessed safely from the ground, and knowing the difference between what you should check and what you shouldn’t attempt keeps the whole exercise safe. Chimney work involves height, and the top of a chimney is not a place for a homeowner.
Here’s what you can and should check from the ground:
- The cap. Is it attached? Is it rusted through? Is there a visible gap where it meets the flue tile?
- The crown. Cracks, gaps at the edge, or a surface that looks washed out or crumbling.
- The exterior masonry. Spalling brick, dark staining, white powdery residue, or mortar joints that have recessed.
- Moisture signs near the flue inside. Staining on the ceiling or wall near the chimney, especially after rain.
- The firebox, damper, and the visible lower portion of the flue. All of this is reachable with a flashlight from inside the house.
- The top of the flue, from a distance. A pair of binoculars from the yard confirms whether the flue looks clear at the top and whether the cap is seated.
What you should not attempt: climbing onto the roof, removing a cap, reaching into the flue, or trying to clear an obstruction yourself. Roof surfaces are deceptive, and a fall is a serious injury. More importantly, clearing a flue without the right equipment can dislodge material that should be extracted, not distributed. The value of a ground-level check is that it tells you what to report, not that it replaces the professional visit.
What Requires a Professional and a Camera
A camera inspection is where the checklist stops being guesswork. Several of the most consequential chimney problems are invisible from the firebox, the ground, or the roof. They live in the flue itself: the interior surface of the liner, the smoke chamber, and the joints between liner sections. Those areas need a camera on a rod, run down the flue, to see clearly. In our experience, this is the step most homeowners skip, and the step that most often changes the recommendation.
These items require a professional with camera equipment:
- Flue liner condition. Cracks, gaps, and deterioration inside the liner are not visible from the firebox. A camera shows whether the liner is sound or whether it needs restoration.
- The smoke chamber. The sloped area above the damper is a common place for creosote to collect and for masonry to degrade. It can’t be assessed without a camera and access.
- Creosote thickness in the upper flue. The amount of buildup at the top of the flue is what determines whether a sweep is warranted. A visual check can’t measure it.
- Hidden firebox and smoke chamber cracks. A crack in the firebox wall can extend into the structure behind it. The camera confirms how far it goes.
- Obstruction location. Whether a blockage is a nest, a fallen tile, or a collapsed liner section changes the repair. The camera identifies it.
This is also where the choice of materials matters. When a liner has deteriorated, restoration is sometimes possible without a full replacement. HeatShield is a resurfacing system for flue liners that addresses deterioration without tearing out the old liner, and it’s a capability most sweep-only operations don’t offer. When the liner needs full replacement, a DuraFlex flexible liner system handles complex relines without demolition. The right answer depends on what the camera shows, which is why the inspection comes before the recommendation.
Documenting Condition Year Over Year
A checklist becomes a maintenance system when you record what you find. A technician with a photographic record going back to previous seasons can tell the difference between a stable hairline crack and one that’s grown since last season. Without that record, every visit starts from scratch, and a slow trend goes unnoticed until it becomes a structural problem.
Here’s how to build a record that actually helps:
- Keep a folder for chimney records, digital or physical. Every inspection report, every photo, every repair receipt goes in it.
- Photograph the same views each year. Cap, crown, exterior, firebox, and the top of the flue. Same angles, same season. Comparing like to like is what shows change.
- Note the date and the burn frequency for the season. A year with heavy burning looks different from a light one. Record it so the comparison is fair.
- Have the technician write down observations, not just findings. “Crown showing minor surface cracking, monitor next year” is more useful than “crown okay.”
- Bring the folder to each inspection. The technician can compare this year’s camera footage to last year’s and spot trends.
This is the part of the checklist that pays off over time. A chimney in West Hills can look identical year to year and still be changing slowly. The record is what makes the change visible. It also means that when a repair does come up, you have the history to confirm it’s necessary and not just recommended.
Common Mistakes to Avoid
- Treating the sweep as the whole job. A sweep cleans the flue. It doesn’t tell you whether the cap, crown, or liner is sound. A cleaning without an inspection skips the part that catches what causes fires.
- Skipping the post-season check. Most homeowners check in the fall and forget the chimney all summer. In West Hills, the off-season is when moisture and wildlife do their damage, and it’s the season most people don’t look.
- Judging creosote by what’s visible in the firebox. The firebox shows what’s on the way up, not what’s collected at the top of the flue. The camera is the only reliable measure.
- Clearing a flue obstruction yourself. A nest or a fallen tile needs to be removed, not pushed around. Attempting it yourself risks a fall and can spread material that should be extracted.
- Ignoring a cap that’s still attached but compromised. A rusted-through cap still looks attached from the ground. It’s letting water in. The check is for integrity, not just presence.
- Starting from zero each visit. Without a record, a technician can’t tell a stable crack from one that’s growing. Keep photos and reports, and bring them to each appointment.
- Burning before the pre-season check. A blocked flue or a stuck damper is discovered after the first fire, usually by smoke in the room. The check exists to catch it before that.
When to Call a Professional
Call a professional when you find any of the following: an obstruction you can see in the flue, a damper that won’t fully open or close, a crack in the firebox you can catch a fingernail in, moisture staining on the ceiling or wall near the chimney, a cap that’s shifted, cracked, or rusted through, or a crown with visible gaps or cracks. Call before lighting a fire if the flue is blocked, and call right away if smoke backs into the room when you burn. If you can’t remember the last time the chimney was swept or inspected, that’s reason enough.
Chimney Sweep West Hills offers free estimates in West Hills. Call (855) 337-1817. We answer 24/7. Fast dispatch from 7am to 7pm, Sunday through Friday. A call outside dispatch hours is booked into the next opening.
Frequently Asked Questions
Most chimneys should be swept once a year, timed to your burn frequency. If you burn regularly, a mid-season check in January tells you whether a second sweep is warranted; if you burn heavily, it usually is. The post-season check in spring is when you catch problems that built up over the off-season. Book the annual sweep before the season so the chimney is clean when you start using it.
A complete checklist covers three checkpoints: pre-season (September and October) for flue obstruction, damper operation, and firebox cracks; mid-season (January) for creosote accumulation based on burn frequency; and post-season (March and April) for cap integrity, wildlife nesting, and moisture at the crown. Each checkpoint includes both ground-level checks you can do and items that need a professional with a camera.
You can safely check the cap, crown, exterior masonry, firebox, damper, and moisture signs near the flue from the ground and from inside the house. You should not climb onto the roof, remove a cap, reach into the flue, or try to clear an obstruction. Flue liner condition, smoke chamber degradation, and creosote thickness in the upper flue require a professional with camera equipment.
A cap that loosened in a wind event, a crown crack, or a bird’s nest built in spring sits through the whole off-season. In West Hills, where the summer is dry and the debris is undisturbed, the damage compounds quietly. You discover it in fall, usually when smoke backs up or a fire won’t draw, and by then a small fix has become a repair. The post-season check is the cheapest point in the year to catch these.
It depends on what the camera shows. A deteriorated but intact liner can sometimes be restored with HeatShield, a resurfacing system for flue liners that addresses deterioration without a full replacement. A liner that’s cracked through or collapsed needs a full reline, and a DuraFlex flexible liner system handles that without demolition. The inspection comes first, and the recommendation should follow what the camera actually finds.
A standard chimney sweep in West Hills is priced per job on a written estimate, so the exact figure depends on the chimney and what the inspection finds. Families who want an accurate number should book an inspection and ask for the written estimate before any work is scheduled. Call (855) 337-1817 for an exact quote. Estimates are free.
The Bottom Line
A chimney checklist works because it catches problems at the season they form, not at the season you notice them. Pre-season in September or October confirms the flue is clear and the damper and firebox are sound. Mid-season in January measures creosote against your burn frequency. Post-season in March or April checks the cap, the crown, and the wildlife that moved in over the summer. Ground-level checks cover the outside; camera inspection covers the flue. And the record you keep year over year is what turns three checkpoints into a maintenance system. In West Hills, where mild winters let damage work quietly, that system is what keeps a small issue from becoming a structural one.
Written by the team at Chimney Sweep West Hills.
See the difference
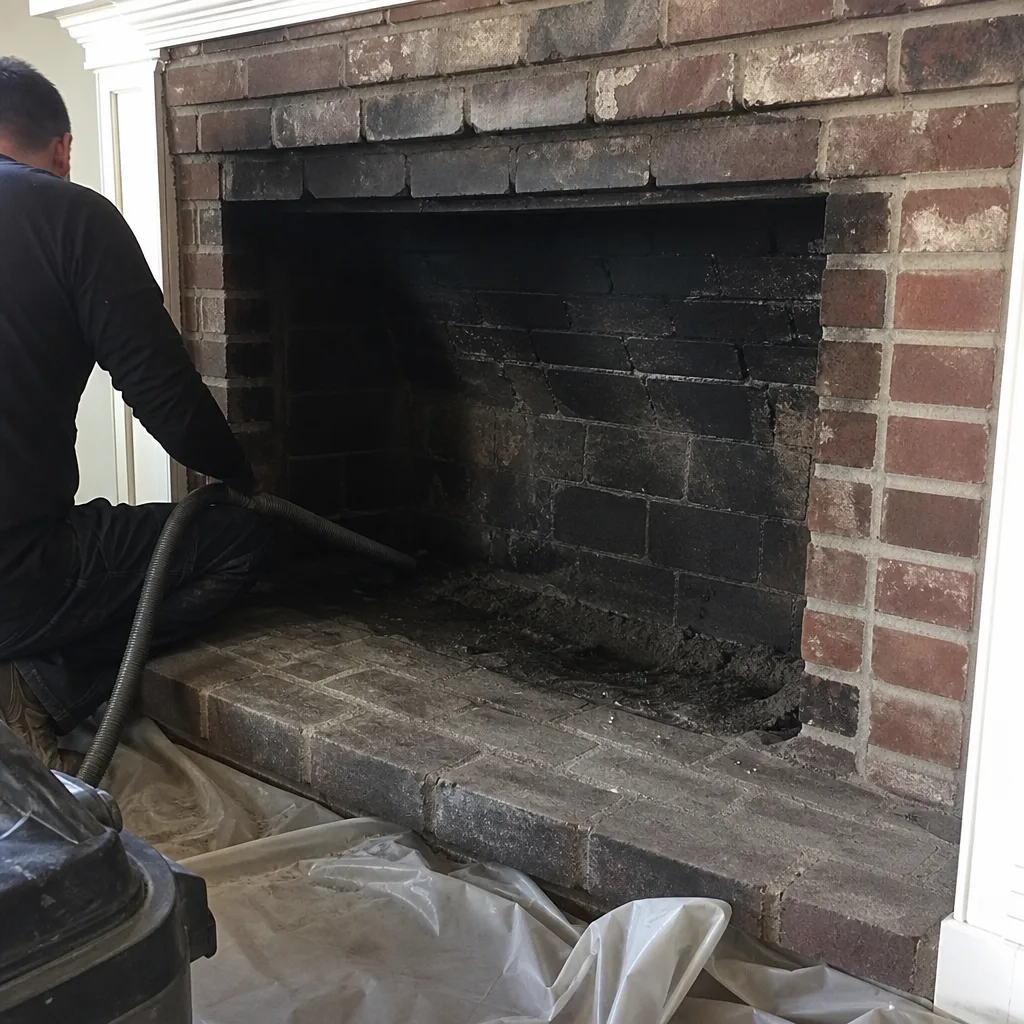 Before
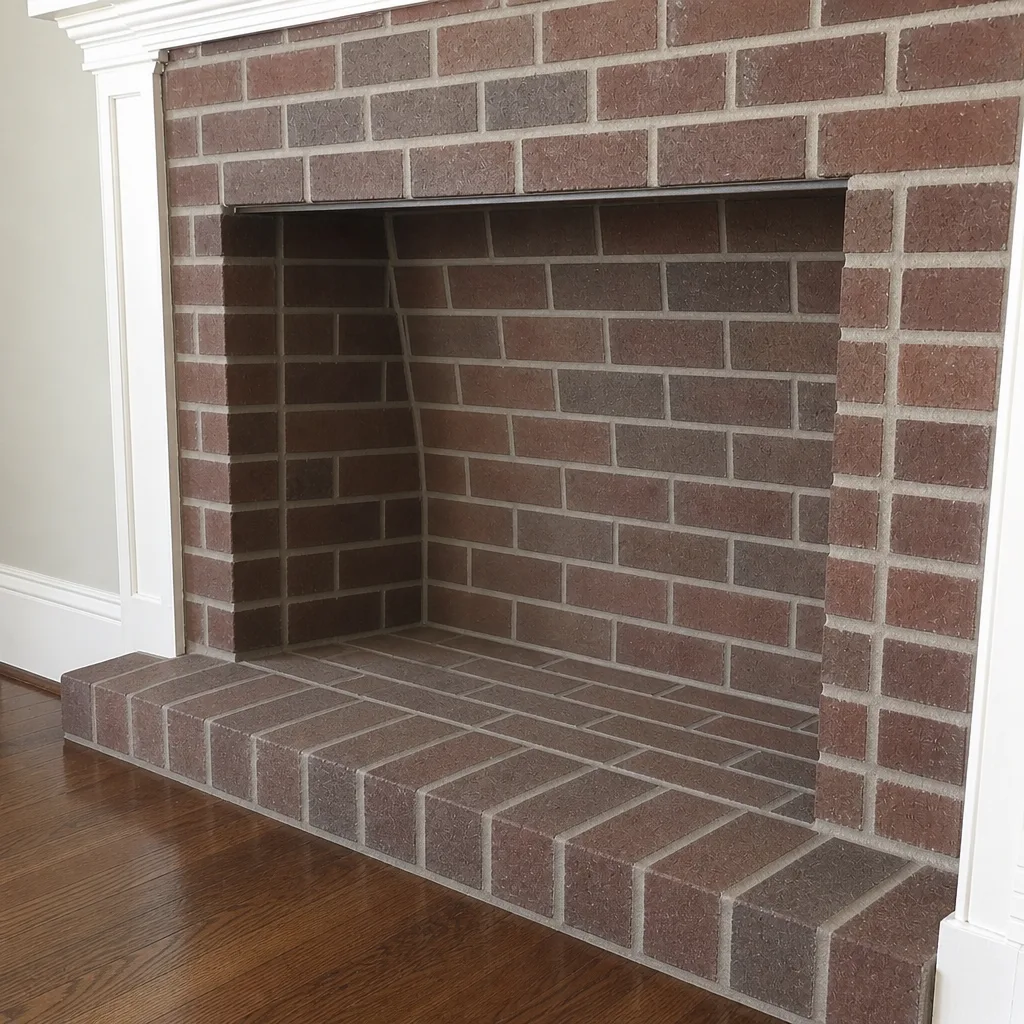 After
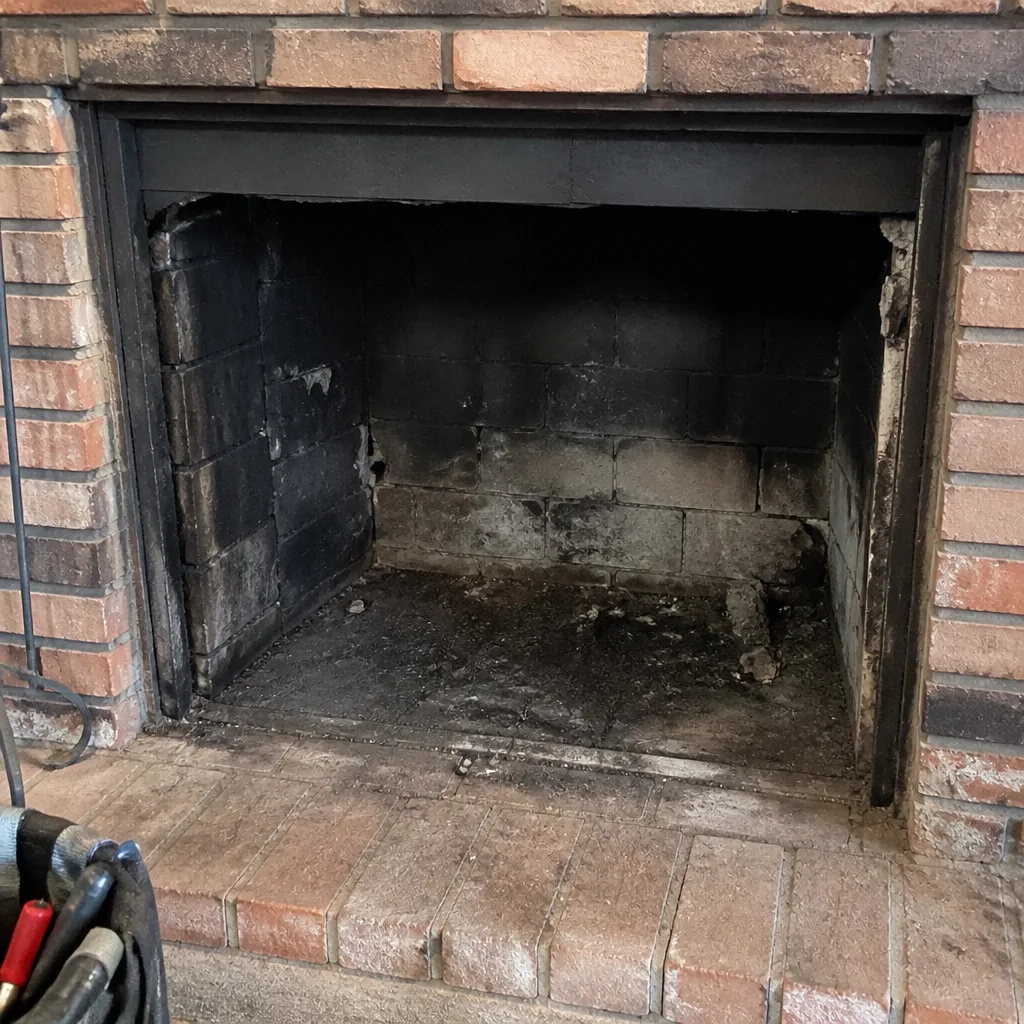 Before
 After
 Before
 After